Growing spring onions, also known as green onions or scallions, in water is a popular and sustainable gardening method that appeals to both seasoned gardeners and beginners. This article will discuss the feasibility of growing spring onions in water, the methods to do it effectively, and tips to ensure maximum growth and yield.
The Basics of Spring Onions
What Are Spring Onions?
Spring onions are a variety of immature onions that are harvested before the bulb develops fully. They are known for their mild flavor and are used in a variety of dishes, from salads to stir-fries. They can be eaten raw or cooked, making them a versatile addition to any kitchen.
Nutritional Benefits
Spring onions are not just delicious; they are also packed with nutrients. They are low in calories while providing vitamins A and C, folate, and antioxidants. These nutrients offer numerous health benefits, such as boosting the immune system and promoting healthy skin.
Why Grow in Water?
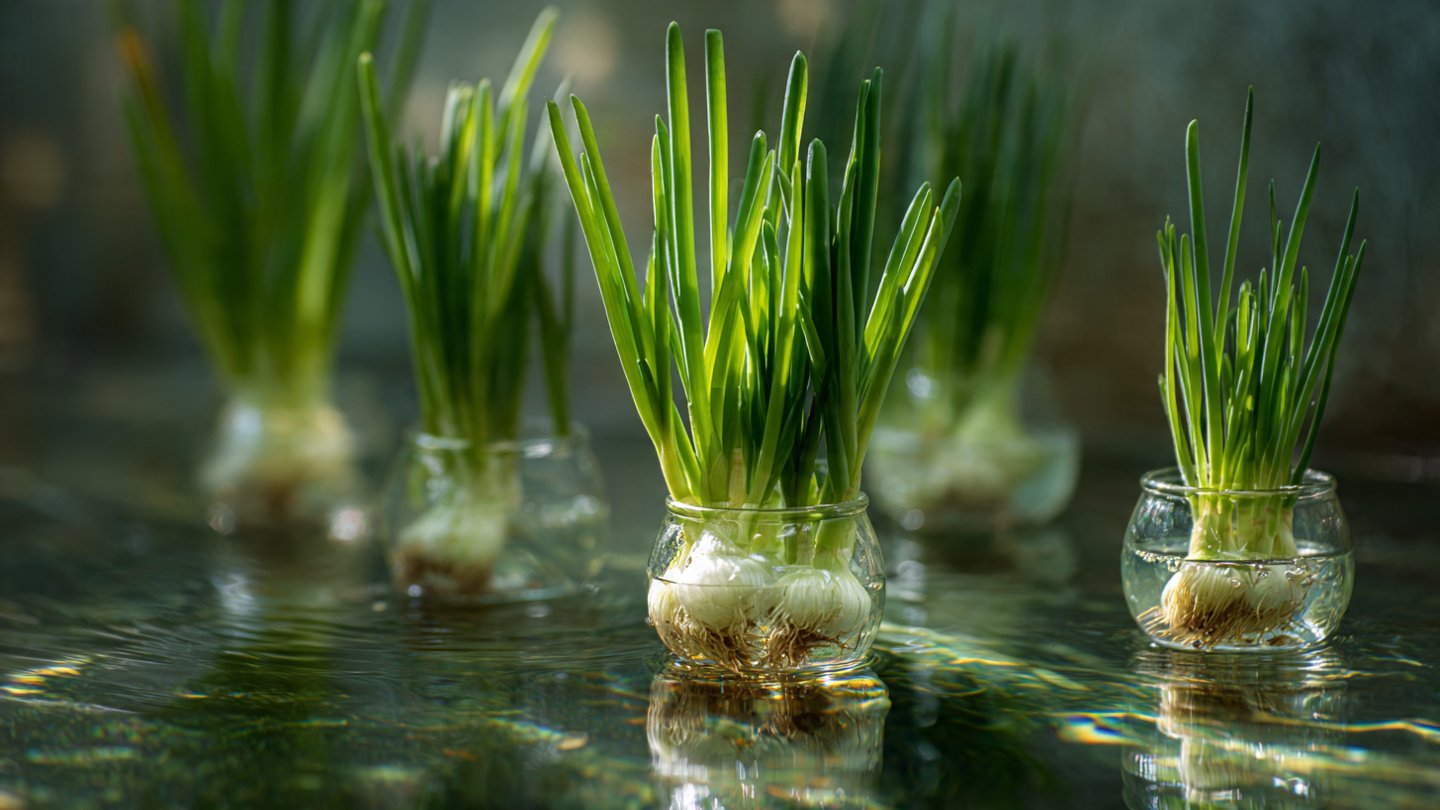
Growing spring onions in water is an eco-friendly and space-saving method. It allows for continuous harvesting and can be a fun activity for children and adults alike. This method is particularly appealing to urban dwellers who may have limited space for traditional gardening.

How to Grow Spring Onions in Water
Step 1: Choosing Your Spring Onions
You can start with store-bought spring onions or choose to grow your own from seeds. If you’re using store-bought onions, select ones with firm bases and healthy green tops. Make sure they look fresh and free from any signs of rot.
Latest Posts
- How to Use Invisible Wire for a Stunning Climbing Plant Wall
- Are Your Garden Tools Making Your Plants Sick?
- How to Style a Small Studio with Columnar Cacti
- Why Is My Zucchini Shaped Like a Lightbulb?
- How to Protect Your Fruit From Birds Without Nets
- How to Keep Squirrels Away from Your Fruit Trees
- How to Protect Your Fruit from Birds Without Nets
- Why Biochar Is a Game-Changer for Your Kitchen Garden
- Why Some Rare Cacti Bloom Only One Night a Year
- How to Grow Rare Blue Strawberries at Home
Step 2: Preparing the Onions
- Cut the Roots: Trim the roots of the spring onions, leaving about 1–2 inches of the white bulb and making sure that the root structures are intact.
- Rinse: Gently rinse the onions under cold water to remove any dirt or debris.
Step 3: Selecting the Right Container
Choose a shallow container or jar that can hold the spring onions upright. Ensure that it has a wide enough opening for the green tops to emerge. Common options include glass jars, mason jars, or even recycled plastic containers.
Step 4: Adding Water
Fill the container with enough water to cover the roots while keeping the bulb above the waterline. It’s crucial to avoid submerging the bulb itself to prevent rot.
Step 5: Placing in the Right Environment
Spring onions thrive in bright, indirect sunlight. Place your container near a window where it will receive ample light but avoid direct sunlight, which can overheat the water and damage the plants.

Step 6: Water Maintenance
Check the water level regularly, ensuring the roots remain submerged. Change the water every few days to prevent stagnation and algae growth. This also provides a fresh supply of oxygen to the roots, promoting healthier growth.
Step 7: Harvesting
After a few weeks, you will notice significant growth in the green tops. You can start snipping the greens as needed, allowing the rest to continue growing. This method allows for continuous harvesting, ensuring you have fresh spring onions on hand at all times.
Tips for Maximizing Growth
1. Fertilization
While spring onions can thrive in water alone, occasional fertilization can promote even better growth. You can add a water-soluble fertilizer diluted to half-strength once every couple of weeks. This can provide essential nutrients that may be lacking in plain water.
2. Temperature Control
Spring onions grow best in a temperature range of 60°F to 75°F (15°C to 24°C). If your home is particularly warm or cold, consider placing the container in a more temperature-stable area.

3. Regular Pruning
Regularly trimming the tops not only encourages new growth but also prevents the onions from becoming too tall and floppy. Snipping the greens just above the bulb can stimulate thicker, healthier growth.
4. Harvest Timing
The green tops can be harvested once they reach about 6-8 inches in height. However, the bulbs take longer. If you decide to grow the bulbs to full size, you should transition them to a soil medium after a few weeks of growth in water.
5. Companions and Rotation
While growing spring onions in water, be mindful of their growth companions. You can grow them alongside other herbs like parsley or basil, which can thrive in similar conditions and moisture levels.
Troubleshooting Common Issues
1. Root Rot
If you notice the roots turning black or mushy, it’s a sign of root rot, typically caused by too much water or stagnant water. To fix this, change the water regularly and ensure that the bulbs are not submerged.

2. Algae Growth
Algae might form if the container is too exposed to direct sunlight or if the water is not changed frequently. To minimize algae, use an opaque container or keep the water fresh.
3. Slow Growth
If your spring onions aren’t growing as quickly as expected, consider the following:
- Insufficient Light: Ensure they are receiving enough indirect sunlight.
- Water Quality: Use filtered or distilled water to reduce chemical contaminants.
- Crowding: If planted too closely, they may not have enough space to grow efficiently.
Advantages of Growing Spring Onions in Water
- Space-Efficient: Perfect for apartment living or small spaces, as containers can fit on windowsills.
- No Soil Required: Ideal for those who don’t want to deal with soil or outdoor gardening.
- Environmentally Friendly: Reduces waste by recycling food scraps and minimizes the need for store-bought produce.
- Continuous Harvesting: Unlike traditional gardening, growing in water allows you to continuously harvest and enjoy fresh spring onions.
Conclusion
Growing spring onions in water is a practical, easy, and rewarding gardening method. With minimal investment and simple techniques, you can cultivate fresh vegetables right at home. By following the steps outlined above and applying the tips for maximizing growth, you can enjoy a continuous supply of this tasty and nutritious herb. Whether you’re a novice gardener or a green thumb, growing spring onions in water can be a fulfilling and enriching experience! Try it out today and bring a touch of freshness to your kitchen!
