Verbascum, commonly known as mullein, is a genus of flowering plants that is famed for its striking tall spikes of yellow flowers and its lush green foliage. This hardy plant is not only aesthetically pleasing, but it’s also known for its resilience and adaptability, making it a favorite among gardeners. Growing Verbascum from seed can be a rewarding experience, and this guide will walk you through the process step by step, ensuring you can cultivate these stunning plants in your garden.
Understanding Verbascum
Overview of Verbascum
Verbascum consists of around 250 species, including biennial and perennial varieties. One of the most popular species is Verbascum thapsus, known as great mullein or common mullein. It is prized for its tall, candle-like flower spikes that can reach heights of up to six feet.

Benefits of Growing Verbascum
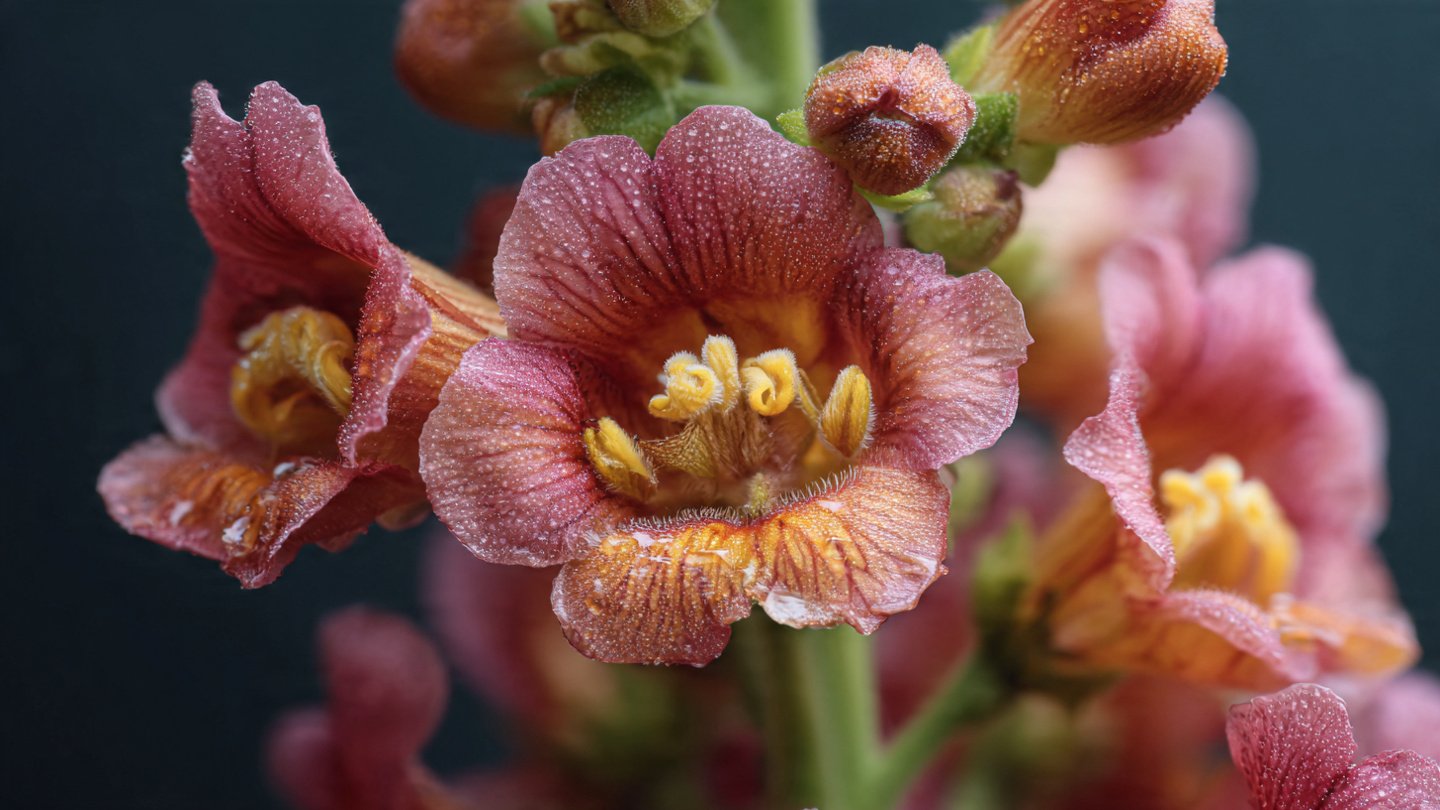
- Aesthetic Appeal: Verbascum flowers bloom in shades of yellow, white, and purple, providing stunning visual interest in gardens.
- Wildlife Friendly: The flowers attract various pollinators, including bees and butterflies, making them a great addition to wildlife gardens.
- Medicinal Uses: Traditionally, mullein has been used in herbal medicine for its anti-inflammatory and expectorant properties.
- Low Maintenance: Verbascum plants are drought-tolerant and require minimal care once established.
Getting Started: Preparing to Plant Verbascum Seeds
Choosing the Right Location
- Sunlight: Verbascum thrives in full sun, requiring at least 6 to 8 hours of direct light daily. Choose a location that will provide this exposure.
- Soil Type: Well-draining soil is vital. Verbascum prefers sandy or loamy soil with a neutral to slightly alkaline pH (6.0 to 7.5).
- Space: Given their height, ensure plants are spaced adequately. Taller varieties can spread 18 to 24 inches apart.
Gathering Your Materials
To grow Verbascum from seed, you’ll need:
- Fresh Verbascum seeds (choose your preferred species)
- Seed trays or pots
- Seedling soil mix (well-draining mix is preferable)
- Watering can or spray bottle
- Labels for marking
- Plastic wrap or humidity dome (optional)
Step-by-Step Instructions for Growing Verbascum from Seed
Step 1: Sowing the Seeds
Timing:

- Sow Verbascum seeds in early spring or late fall. Spring sowing allows for better germination rates with the warm soil.
- Prepare the Seed Tray or Pots: Fill your tray or pots with the seedling soil mix. Moisten the mix lightly before sowing.
- Sow the Seeds: Scatter the seeds on the surface of the soil. Verbascum seeds require light for germination, so do not cover them with soil.
- Label: Add labels to identify the species or variety you are planting.
Step 2: Provide the Right Conditions
- Moisture: Mist the surface of the soil with a spray bottle to keep it moist but not soggy. Overwatering can lead to rot.
- Temperature: Keep the seeds in a warm area, ideally between 65°F to 75°F (18°C to 24°C).
- Humidity: Cover the seed trays with plastic wrap or a humidity dome to create a warm, humid environment. Remove it once seedlings emerge to prevent fungus.
Step 3: Germination
Typically, Verbascum seeds take 2 to 4 weeks to germinate. Be patient during this period, checking moisture levels regularly.
Latest Posts
- How to Use Invisible Wire for a Stunning Climbing Plant Wall
- Are Your Garden Tools Making Your Plants Sick?
- How to Style a Small Studio with Columnar Cacti
- Why Is My Zucchini Shaped Like a Lightbulb?
- How to Protect Your Fruit From Birds Without Nets
- How to Keep Squirrels Away from Your Fruit Trees
- How to Protect Your Fruit from Birds Without Nets
- Why Biochar Is a Game-Changer for Your Kitchen Garden
- Why Some Rare Cacti Bloom Only One Night a Year
- How to Grow Rare Blue Strawberries at Home
Step 4: Transplanting Seedlings
- Thinning Seedlings: Once seedlings have developed two true leaves, thin them to avoid overcrowding. You can transplant the strongest seedlings into individual pots.
- Hardening Off: Before planting outdoors, harden off the seedlings by gradually exposing them to outdoor conditions over a week. Start with a few hours in partial shade and increase the time and sunlight exposure daily.
Step 5: Planting Outdoors
- Timing: Transplant your seedlings outdoors after the last frost.
- Spacing: Plant seedlings 18 to 24 inches apart, ensuring they have adequate room to grow.
- Soil Preparation: Amend the soil with compost for additional nutrients, and create holes deep enough for the seedlings to sit comfortably.
Caring for Your Verbascum Plants
Watering
- Verbascum is relatively drought-tolerant, but ensure consistent moisture during the first year to help establish deep roots. After that, water only in prolonged dry spells.
Fertilizing
- Verbascum typically does not require much fertilization. A balanced, slow-release fertilizer in early spring can give them a boost, but be careful not to over-fertilize.
Pruning and Maintenance
- Remove spent flowers to encourage continuous blooming. In late fall, cut back the plants to the ground level to promote healthy growth the following spring.
Pest and Disease Management
- Verbascum is relatively pest-resistant, but watch for aphids or slug infestations. Treat them with neem oil or insecticidal soap if necessary. Ensure proper spacing and air circulation to prevent fungal diseases.
Common Challenges and Solutions
Poor Germination
- If you experience low germination rates, check the freshness of your seeds. Seeds should be no older than two years for optimal success.
Seedlings Wilting
- Ensure that seedlings are not overwatered and that they are receiving sufficient sunlight. Adjust watering practices as needed.
Excessive Height
- High winds can damage tall Verbascum plants. Consider staking them early or selecting a more sheltered location.
Conclusion
Growing Verbascum from seed is a straightforward and rewarding process that can bring beauty and biodiversity to your garden. By ensuring the right conditions, consistent care, and a little patience, you can enjoy the stunning flower spikes and lush foliage of this remarkable plant. Verbascum not only enhances your garden but also supports local wildlife, making it a perfect choice for environmentally-conscious gardeners.

Whether you’re a novice or an experienced gardener, following this simple guide will help you cultivate healthy Verbascum plants that will flourish in your landscape for years to come. Happy gardening!
