Bay laurel (Laurus nobilis), renowned for its aromatic leaves, is a staple in Mediterranean cuisine and a beloved addition to home gardens. While growing a bay laurel tree from seed can be a lengthy process, propagating it from cuttings is an easier and faster alternative. In this article, we’ll explore the methods, best practices, and tips you need to successfully grow bay leaves from cuttings, helping you cultivate this culinary gem right from your kitchen.
Understanding Bay Laurel
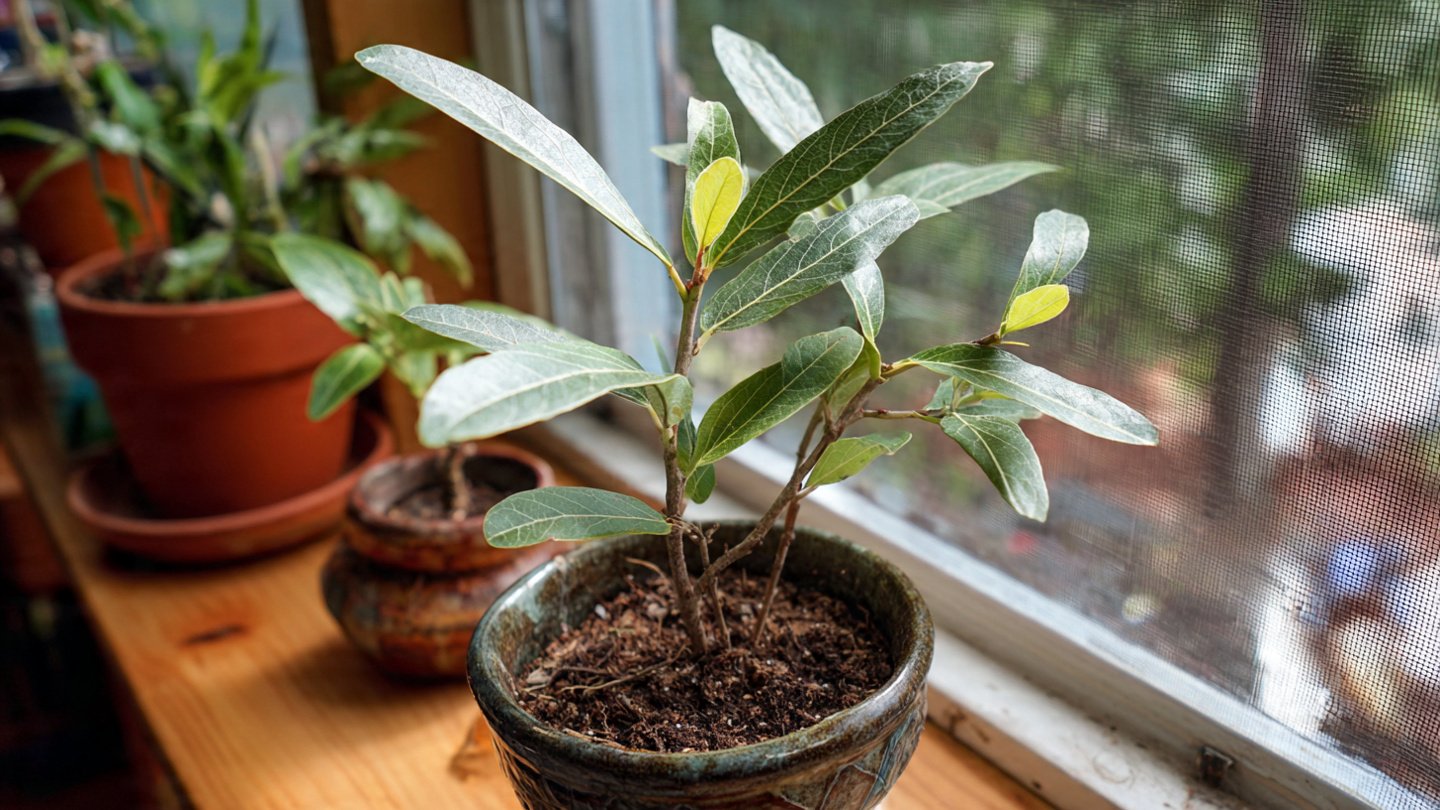
Before diving into the propagation process, let’s take a moment to understand the bay laurel plant. This evergreen shrub or small tree can grow up to 60 feet tall and is characterized by its glossy, dark green leaves, which can be harvested and dried for various culinary uses. Growing bay laurel at home not only provides fresh leaves for cooking but also adds aesthetic value to your garden.
Latest Posts
- How to Use Invisible Wire for a Stunning Climbing Plant Wall
- Are Your Garden Tools Making Your Plants Sick?
- How to Style a Small Studio with Columnar Cacti
- Why Is My Zucchini Shaped Like a Lightbulb?
- How to Protect Your Fruit From Birds Without Nets
- How to Keep Squirrels Away from Your Fruit Trees
- How to Protect Your Fruit from Birds Without Nets
- Why Biochar Is a Game-Changer for Your Kitchen Garden
- Why Some Rare Cacti Bloom Only One Night a Year
- How to Grow Rare Blue Strawberries at Home
Why Propagate from Cuttings?
-
Speed: Growing bay laurel from cuttings takes significantly less time than starting from seeds, which can take years to mature.
-
Cloning: Cuttings allow you to replicate a healthy parent plant, ensuring the same flavor and characteristics in the new plant.
-
Simplicity: For many gardeners, taking cuttings is a much simpler process than dealing with seeds and the subsequent care they require.

Choosing the Right Time for Cuttings
The ideal time to take bay leaf cuttings is during the growing season, which is typically in late spring to early summer. At this time, the plant is actively growing, making it more conducive to root development. Look for new growth that is firm yet flexible, as these cuttings have the best chance of rooting successfully.
Tools and Materials Needed
Before you start propagating, gather the following tools and materials:
- Sharp, Clean Pruning Shears: To make clean cuts and minimize damage to the plant.
- Rooting Hormone (optional): While not always necessary, rooting hormone can promote root growth.
- Potting Soil: A well-draining soil mix is crucial for root health.
- Containers: Small pots or trays to hold the cuttings.
- Water: To keep the soil moist.
- Plastic Bag or Dome: To create a humid environment for the cuttings.
Steps to Grow Bay Leaf from Cuttings

1. Taking the Cuttings
-
Select a Branch: Look for a healthy branch on the bay laurel plant. It should be around 4 to 6 inches long and have at least two to three pairs of leaves.
-
Make the Cut: Using your sharp, clean shears, cut the branch just below a leaf node. This is where roots are most likely to develop. Remove the lower leaves, leaving just one or two pairs at the top to help the cutting focus energy on root growth.
2. Preparing the Cuttings
- Use Rooting Hormone: If you have rooting hormone, dip the cut end of the cutting into the powder. This step is optional but can significantly increase your success rate.
3. Planting the Cuttings
-
Fill the Containers: Use potting soil to fill your pots or trays, leaving about an inch of space below the rim. Ensure that the soil is well-ex drained.
-
Make Holes: Create small holes in the soil using your finger or a stick to accommodate the cuttings.

-
Insert the Cuttings: Place the cut end of the cutting into the hole and gently press the soil around it to secure it in place.
4. Watering and Covering
-
Water the Cuttings: After planting, water the cuttings thoroughly to help them settle into the soil. Ensure that the water drains out of the bottom.
-
Create Humidity: Cover the pot with a plastic bag or a dome to maintain humidity. Ensure that the cover doesn’t touch the leaves by using stakes if necessary.
5. Provide the Right Environment
-
Light: Place the pots in a location that receives bright, indirect sunlight. Direct sun can be too harsh and may scorch the cuttings.
-
Temperature: Ideally, maintain a temperature of about 70 to 75 degrees Fahrenheit. Avoid placing the cuttings in drafts or extreme temperatures.

Caring for Your Cuttings
Moisture Management
Keep the soil consistently moist but not soggy. It’s essential to monitor the moisture levels daily, especially if the environment is warm.
Checking for Roots
After about 4-8 weeks, gently tug on the cuttings to check for resistance, indicating root development. If there’s resistance, roots are forming!
Transplanting
Once the cuttings have established a good root system, it’s time to transplant them into larger pots or your garden. Choose a well-draining outdoor bed for optimal growth if you decide to plant them outside.
Common Issues and Troubleshooting
-
Mold Growth: If you see mold developing on the soil or cuttings, you may be overwatering. Ensure adequate ventilation and check the moisture levels.

-
Wilting Leaves: Wilting can indicate either underwatering or overwatering. Adjust your watering routine accordingly.
-
No Root Growth: If your cuttings fail to root after some time, consider factors like the cutting’s health, climate conditions, or quality of the soil.
Final Thoughts
Growing bay leaf from cuttings is a rewarding and enjoyable process that allows you to cultivate fresh herbs for your culinary creations. By following the steps outlined above, you can successfully propagate bay laurel with minimal effort.
Remember to be patient, as rooting can take several weeks, but once established, your bay laurel plant will flourish and provide you with an endless supply of aromatic leaves. With proper care, you’ll appreciate the delightful fragrance and flavor of fresh bay leaves at your fingertips, elevating your dishes and bringing the essence of the Mediterranean right to your home.
Happy gardening, and enjoy your delicious homegrown bay leaves!