Spider plants (Chlorophytum comosum) are among the most popular houseplants, revered for their attractive arching leaves and air-purifying properties. Propagating spider plants is an excellent way to expand your indoor garden. This guide will provide you with comprehensive steps and tips on how to successfully propagate spider plant babies indoors, creating a lush and vibrant environment in your home.
Understanding Spider Plants
Before diving into propagation, it’s essential to understand the unique characteristics of spider plants. Native to southern Africa, these resilient plants thrive in a variety of conditions. Spider plants typically produce offsets, known as “pups,” that can be rooted and grown as new, independent plants. These pups grow on long stems that extend from the mother plant, creating a cascading effect that’s aesthetically pleasing.
Latest Posts
- How to Use Invisible Wire for a Stunning Climbing Plant Wall
- Are Your Garden Tools Making Your Plants Sick?
- How to Style a Small Studio with Columnar Cacti
- Why Is My Zucchini Shaped Like a Lightbulb?
- How to Protect Your Fruit From Birds Without Nets
- How to Keep Squirrels Away from Your Fruit Trees
- How to Protect Your Fruit from Birds Without Nets
- Why Biochar Is a Game-Changer for Your Kitchen Garden
- Why Some Rare Cacti Bloom Only One Night a Year
- How to Grow Rare Blue Strawberries at Home
Why Propagate Spider Plants?
- Cost-Effective: Growing new plants from existing ones saves money compared to buying new plants.
- Sustainable: Propagation reduces waste by utilizing existing plants rather than discarding them when they become leggy or overcrowded.
- Sharing and Gifting: Spider plants are popular among friends and family, making them wonderful gifts.
- Enhancing Indoor Air Quality: More plants contribute to better air quality, making your indoor space healthier.
Steps for Successful Propagation
1. Selecting the Right Time
The best time to propagate spider plants is during their growing season, typically in spring or early summer. This is when the parent plant is actively growing, increasing the success rate of propagation.
2. Identifying Healthy Pups

Look for healthy pups that are at least 3–4 inches long and have developed their own root systems. Healthy pups are typically green and vigorous-looking, whereas unhealthy ones may appear yellow or droopy.
3. Gathering Your Tools
Before starting the propagation process, gather the following tools:
- Clean, sharp scissors or pruning shears
- A small pot or container (with drainage holes)
- Potting soil (preferably lightweight and well-draining)
- Water
4. Cutting the Pups
Use your scissors or shears to cut the pups from the main plant. Ensure that each pup has some roots attached; this is crucial for ensuring successful growth. It’s advisable to make the cuts at the base of the pup, leaving no excess stem.
5. Preparing the Pots
Fill your pots with potting soil, leaving about an inch of space at the top. Moisten the soil lightly but don’t soak it; you want it damp but not waterlogged. Good drainage is important to prevent root rot.
6. Planting the Pups

Make a small hole in the soil with your finger or a pencil and carefully place the pup in the hole, ensuring the roots are well covered but the leaves are above the soil. Gently pat the soil around the base of the pup to secure it in place.
7. Watering the New Plants
After planting, water the pups generously to settle the soil around their roots. Ensure the pots have good drainage; after watering, excess water should drain easily from the bottom.
8. Creating the Right Environment
Place the newly potted spider plant pups in a bright, indirect light location. Avoid direct sunlight, as this can scorch their leaves. Maintaining a warm and humid environment, ideally between 70°F and 80°F (21°C – 27°C), will encourage healthy growth.
9. Care and Maintenance
Watering
Water the newly propagated pups whenever the top inch of soil feels dry. Typically, this means watering once a week, but adjustments may be needed depending on your home’s humidity and temperature.
Fertilizing
After about a month, you can begin fertilizing your new spider plants. Use a diluted liquid fertilizer once every month during the growing season (spring and summer). It’s essential to avoid over-fertilizing, which can harm young plants.
Pruning
As your spider plants grow, you may need to prune them. Remove any dead or yellowing leaves to promote healthy growth and aesthetics. Pruning should be done with clean scissors to prevent any potential disease transmission.

10. Transplanting (Optional)
Once the spider plants have grown to a size where they are root-bound or have outgrown their pots, it’s time to consider transplanting them into larger pots. Choose a pot that is 1-2 inches larger in diameter than the current one and follow the same planting steps as before.
11. Observing for Pests and Diseases
Regularly check your spider plants for signs of pests like spider mites, aphids, or mealybugs. If any are spotted, treat them immediately with insecticidal soap or neem oil. Additionally, watch for signs of root rot, often characterized by a sour smell or mushy roots, often due to overwatering.
Benefits of Indoor Spider Plants
Spider plants are renowned for their many benefits:
- Air Purification: They effectively filter common indoor pollutants, improving air quality.
- Low Maintenance: These plants are drought-resistant and can survive under various light conditions, making them an ideal choice for beginners.
- Natural Humidifiers: By releasing moisture into the air, they can help maintain indoor humidity levels.
Spider Plant Varieties to Consider
While the classic green and white-striped spider plant is the most common, there are several beautiful varieties worth considering:

- Variegatum: Features a striking white margin around the leaves.
- Bonnie: A curled variety that adds a unique texture and character.
- Pacific: Known for its wide leaves and rich green hue.
Frequently Asked Questions (FAQs)
1. How long does it take for spider plant pups to grow?
Typically, spider plant pups take about 4-6 weeks to establish roots after planting. Once roots are developed, growth rates can vary depending on light, water, and care.
2. How often should I water my new spider plant babies?
Water your spider plant babies when the top inch of soil feels dry. This usually translates to watering about once a week, but adjustments may be necessary based on environmental conditions.
3. Do spider plants need direct sunlight?
Spider plants thrive in bright, indirect light. Direct sunlight can scorch their leaves, so it’s best to place them in a well-lit room without direct exposure.
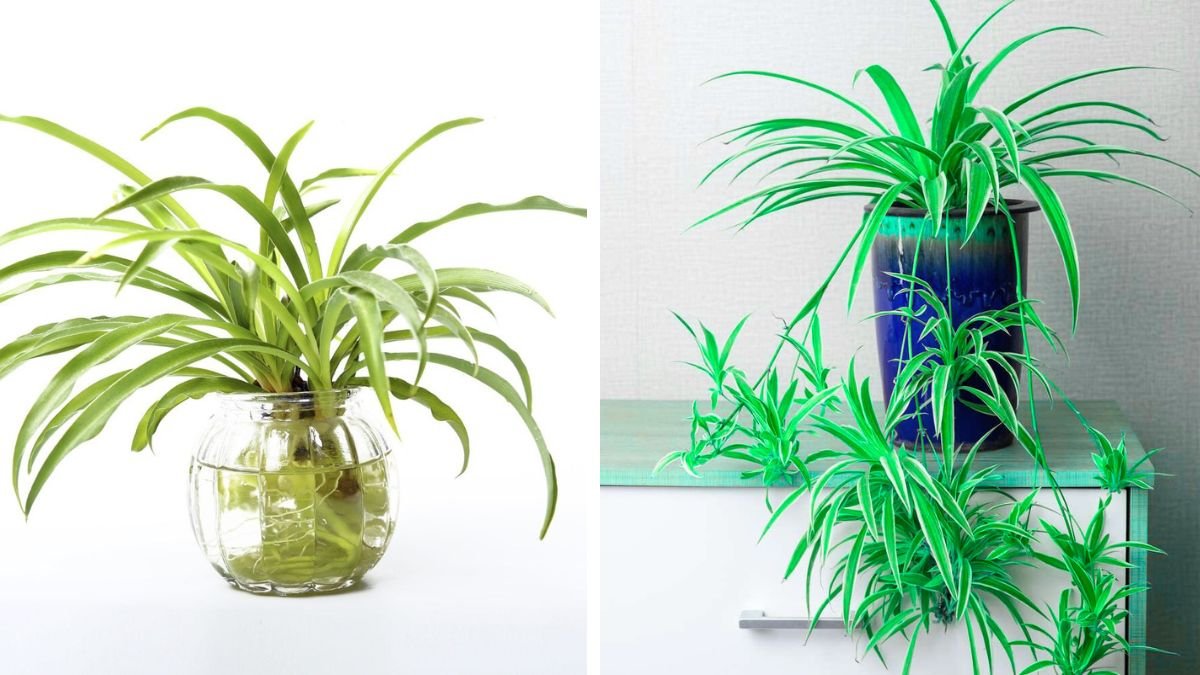
4. Can I propagate spider plants in water?
Yes, you can propagate spider plant pups in water, but it’s typically more successful to plant them directly into soil. If using water, place the pups in a glass of water until roots develop, then transplant them into soil.

5. What should I do if my spider plant pups don’t root?
If your pups are not rooting, ensure they have enough moisture and are in a warm, bright location. Sometimes it may just take longer for roots to develop, so patience is key.
6. Can spider plants grow in low light?
Yes, spider plants can tolerate low light conditions, but their growth may slow down, and they might not produce as many pups. For optimal health and growth, aim for brighter settings.
7. Is it normal for spider plants to lose leaves?
Yes, older leaves may yellow and die off as part of the plant’s natural growth cycle. Regular pruning can help maintain the plant’s appearance.
Conclusion
Successfully propagating spider plant babies indoors can be a rewarding experience that enhances your indoor garden. By following the steps outlined above and integrating these beautiful plants into your space, you can create a thriving indoor environment that not only adds aesthetic value but also promotes better air quality. With a little patience and care, you’ll soon have a colorful collection of spider plants to enjoy and share with others!