Growing green chili at home can be incredibly rewarding, not just for the fresh taste it adds to your meals, but also for the satisfaction of nurturing a plant from seed to harvest. Whether you have a spacious backyard or a small balcony, growing chilies in pots is an excellent way to enjoy homegrown produce without the need for extensive garden space. This article will guide you through the best techniques for successfully cultivating green chilies in containers, ensuring you maximize your yields and enjoy the process.
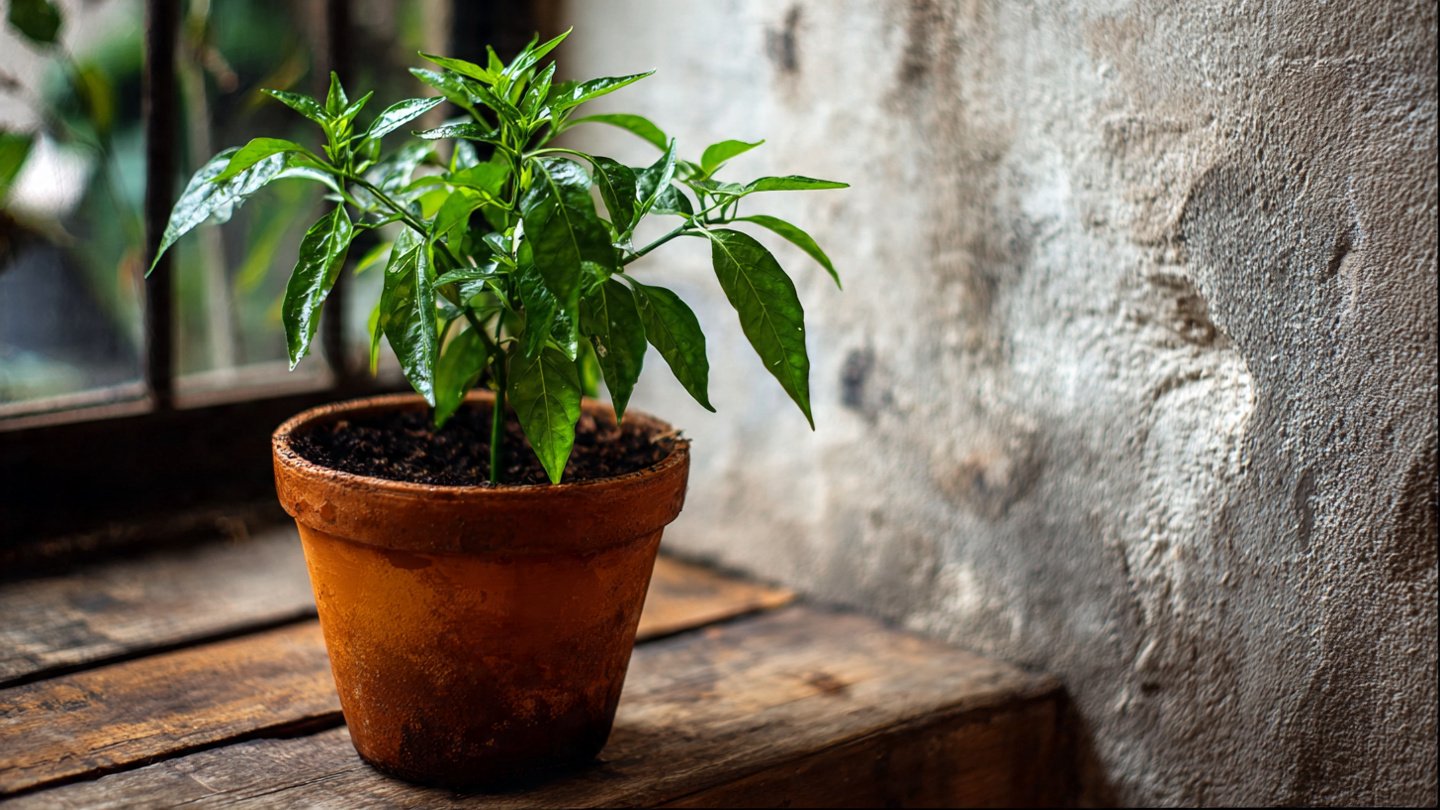
1. Choosing the Right Pot
The first step in your chili-growing journey is choosing the appropriate pot. Here are some factors to consider:
Latest Posts
- How to Use Invisible Wire for a Stunning Climbing Plant Wall
- Are Your Garden Tools Making Your Plants Sick?
- How to Style a Small Studio with Columnar Cacti
- Why Is My Zucchini Shaped Like a Lightbulb?
- How to Protect Your Fruit From Birds Without Nets
- How to Keep Squirrels Away from Your Fruit Trees
- How to Protect Your Fruit from Birds Without Nets
- Why Biochar Is a Game-Changer for Your Kitchen Garden
- Why Some Rare Cacti Bloom Only One Night a Year
- How to Grow Rare Blue Strawberries at Home
-
Size: Use a pot that is at least 10-12 inches deep and wide, giving the roots plenty of space to grow. Smaller pots can lead to stunted growth and smaller yields.
-
Material: Common materials include plastic, terracotta, and ceramic. Each has its pros and cons. Plastic pots are lightweight and retain moisture well, while terracotta allows for better air circulation but may dry out faster.
-
Drainage: Ensure the pot has drainage holes at the bottom. This is crucial to prevent waterlogging, which can lead to root rot.
2. Selecting the Right Soil
Chilies thrive in well-draining, nutrient-rich soil. Here’s how to prepare the best mix:
-
Soil Type: A high-quality potting mix is ideal. You can combine regular potting mix with compost to enhance fertility and drainage.
-
pH Level: The soil’s pH should be slightly acidic to neutral, ideally between 6.0 and 7.0. Testing kits are available at garden centers if you’re unsure.
-
Additives: Mix in perlite or sand to improve drainage and aeration.

3. Choosing Varieties of Green Chili
There are numerous chili varieties you can grow. Here are a few popular choices:
-
Jalapeño: Medium heat and versatile in dishes.
-
Serrano: Slightly hotter than jalapeños, great for salsas.
-
Thai Chili: Known for its intense heat, favored in Asian cuisine.
Before choosing a variety, consider your climate and how much heat you can tolerate.
4. Planting Your Chili Seeds
Once you’ve selected your pot, soil, and chili variety, it’s planting time:

-
Sowing Seeds: Plant seeds about ¼ inch deep in the soil. Space seeds 2-3 inches apart if you’re planting multiple seeds in one pot.
-
Seedlings: If you’re using seedlings, gently transplant them into the pot, ensuring not to damage the roots. Form a small hole in the soil, place the seedling, and cover the roots with soil.
5. Watering Techniques
Proper watering is essential for healthy chili plants. Here’s how to do it:
-
Frequency: Water the plants when the top inch of soil feels dry. Usually, this means watering every few days, but it can vary based on conditions.
-
Amount: Ensure deep watering without flooding the plant. Ideally, the water should seep out of the bottom holes, ensuring the entire root system receives moisture.
-
Time of Day: Morning is the best time for watering, as it helps plants absorb moisture before the heat of the day.
6. Fertilizing Your Green Chilies
Fertilizing is key for robust plant growth and high yields:
-
Initial Fertilization: When planting, mix slow-release fertilizer into the soil.
-
Liquid Fertilizer: As the plants begin to grow, switch to a balanced liquid fertilizer every 3-4 weeks. Look for a fertilizer ratio like 5-10-10 for increased flowering and fruiting.
-
Organic Options: Consider organic fertilizers like fish emulsion or compost tea, which can provide nutrients without chemical additives.

7. Providing Adequate Sunlight
Chilies require full sun to thrive:
-
Sunlight Requirement: Aim for at least 6 hours of direct sunlight per day.
-
Location: A south-facing balcony or patio is typically ideal. If natural sunlight is limited, consider using grow lights.
8. Pruning and Training
Pruning can help your plants grow healthier and produce more fruit:
-
Pruning Techniques: Remove any dead leaves and suckers (small shoots that grow from the base of the plant) to encourage airflow and nutrient distribution.

-
Staking: If the plants become tall or heavy with fruit, use stakes or cages for support, ensuring the branches don’t break under the weight.
9. Pest and Disease Management
Chili plants can be susceptible to various pests and diseases:
-
Common Pests: Watch for aphids, spider mites, and whiteflies. Natural remedies include spraying a mixture of water and mild soap or introducing beneficial insects like ladybugs.
-
Fungal Diseases: Ensure good air circulation and avoid overhead watering to combat fungal infections. If you notice any leaves with dark spots, remove them and consider an organic fungicide.
10. Harvesting Your Chilies
Timing is crucial for harvesting:
-
When to Harvest: Green chilies are usually ready to be picked about 70-90 days after planting. Harvest them once they reach their full size but are still green.
-
How to Harvest: Use scissors or garden shears to cut the chilies from the plant. Avoid pulling, as this can damage the plant.
-
Storage: Freshly harvested chilies can keep in the refrigerator for up to two weeks. For longer storage, consider drying or freezing your chilies.

11. FAQs
Q1: Can I grow green chilies indoors?
A: Yes, green chilies can be grown indoors as long as they receive sufficient sunlight. Use grow lights if natural light is limited.
Q2: How often should I water my chili plants?
A: Water when the top inch of soil feels dry, which usually means every few days, depending on climate conditions.
Q3: What pests are most common when growing green chilies?
A: Common pests include aphids, spider mites, and whiteflies. Regular inspection and natural remedies can help manage these pests.
Q4: How long does it take for green chilies to mature?
A: Green chilies typically take about 70-90 days from planting to harvesting.
Q5: Can I grow green chilies in the shade?
A: Chilies require full sun for optimal growth, so it’s best to choose a location that receives at least 6 hours of direct sunlight.
Q6: How can I make my chilies spicier?
A: The heat level of chilies can be influenced by stress conditions. Reducing water or planting in slightly poorer soil can enhance spiciness, but be cautious not to stress the plant too much.
Q7: Is it necessary to prune chili plants?
A: While not required, pruning can encourage better air circulation, reduce disease susceptibility, and promote higher yields.
Growing green chilies in pots is a joyful and rewarding venture that can bring an endless supply of fresh flavors into your kitchen. By following the techniques outlined above, you’ll not only enjoy a bountiful harvest but will also experience the satisfaction of home gardening. Start your journey today and relish the taste of homegrown chilies!