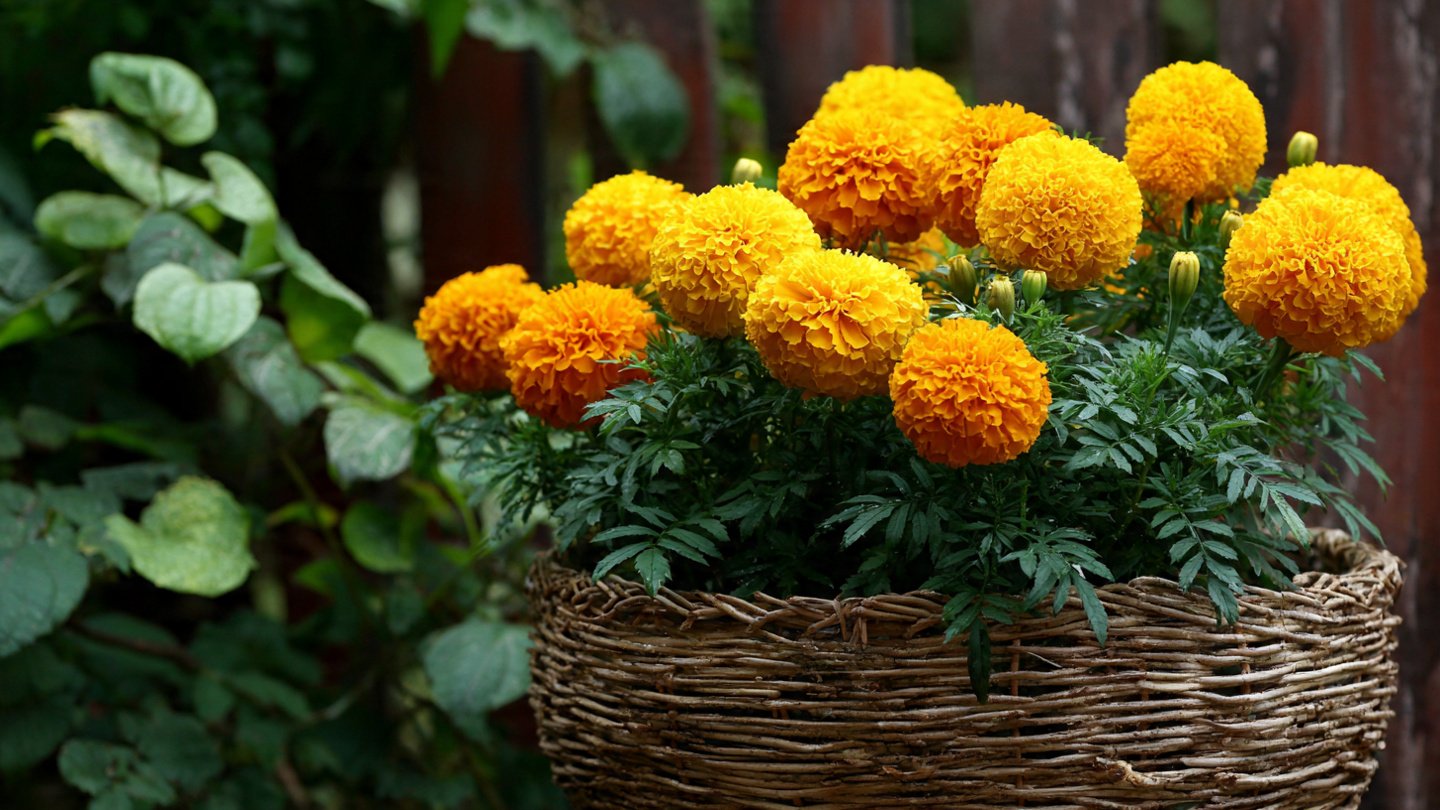
Marigolds are vibrant, resilient flowers that make a stunning addition to any garden, especially container gardens. Their bold colors and cheerful blooms brighten up any space, and they are relatively easy to cultivate. With various species and cultivars available, marigolds are ideal for beginners and experienced gardeners alike. In this article, we will explore the best practices for growing beautiful marigold flowers in container gardens.
1. Choose the Right Container
The first step in growing marigolds in containers is selecting appropriate pots. Here are some factors to consider:
Size
Marigolds have different growth habits. For example, French marigolds are typically smaller, while African marigolds can grow taller and bushier. Choose a container that allows for adequate growth—generally, a pot with a diameter of at least 6 to 12 inches should suffice. Ensure the pot is deep enough to accommodate the roots.
Material
Containers come in various materials, such as plastic, ceramic, wood, and metal. While plastic pots are lightweight and easy to handle, ceramic pots offer better insulation for roots. Choose a material that suits your aesthetic and practical needs.
Drainage
Proper drainage is essential to prevent root rot. Ensure your container has drainage holes at the bottom. If you use a pot without holes, add a layer of gravel or stones at the bottom to facilitate water drainage.
Latest Posts
- How to Use Invisible Wire for a Stunning Climbing Plant Wall
- Are Your Garden Tools Making Your Plants Sick?
- How to Style a Small Studio with Columnar Cacti
- Why Is My Zucchini Shaped Like a Lightbulb?
- How to Protect Your Fruit From Birds Without Nets
- How to Keep Squirrels Away from Your Fruit Trees
- How to Protect Your Fruit from Birds Without Nets
- Why Biochar Is a Game-Changer for Your Kitchen Garden
- Why Some Rare Cacti Bloom Only One Night a Year
- How to Grow Rare Blue Strawberries at Home
2. Soil Preparation
A good soil mix is crucial for the healthy growth of marigolds.
Soil Type
Use a high-quality potting mix rather than garden soil, which can become compact in containers. A potting mix provides the necessary aeration and moisture retention while preventing pests and diseases.

Amendments
Consider adding organic matter, such as compost, to enrich the soil. This added nutrition promotes better growth and flowering.
pH
Marigolds prefer slightly acidic to neutral soil (pH between 6.0 and 7.0). You can test soil pH with a soil testing kit from your local garden center.
3. Planting Marigolds
Timing and technique are essential when planting marigolds in containers.
When to Plant
In most regions, marigold seeds can be sown indoors about 6 to 8 weeks before the last frost date. Transplant them outdoors once the danger of frost has passed. If you’re starting with seedlings from a nursery, you can plant them in pots any time after the last frost.
Planting Technique
- Fill your container with the prepared potting mix, leaving about an inch of space from the rim to avoid overflow during watering.
- Make holes in the soil according to the size of your seedlings or spacing requirements for seeds. Generally, space them 6 to 12 inches apart.
- Gently remove seedlings from their trays, taking care not to damage the roots, and place them in the holes.
- Backfill with soil, ensuring the seedlings are planted at the same depth as they were in their previous containers.
4. Watering
Consistency in watering helps ensure marigolds thrive.
Frequency
Marigolds need regular watering, especially during warmer months. Check the soil moisture—when the top inch of soil feels dry, it’s time to water. On average, containers may require watering every 3 to 7 days, depending on weather conditions.
Method
Water the plants until water seeps out of the drainage holes. This indicates that the entire root system is receiving moisture. Avoid overwatering, as marigolds are susceptible to root rot.

5. Sunlight
Marigolds thrive in full sun, requiring at least 6 to 8 hours of sunlight daily.
Location
Choose a location that receives ample sunlight throughout the day. If you’re using portable containers, you can move them to optimize sunlight exposure, especially in regions with varying weather conditions.
Temperature
Marigolds grow best in temperatures between 60°F to 70°F. They are annuals, which means they do not tolerate frost well, so plan your planting accordingly.
6. Fertilization
Although marigolds can grow in nutrient-rich soil, they benefit from an occasional feeding.
Types of Fertilizer
Use a balanced, slow-release fertilizer every 4 to 6 weeks. You can also opt for a liquid fertilizer every two weeks during the growing season for more immediate nutrient uptake.
Application
Follow the manufacturer’s instructions regarding the quantity and method of application. Over-fertilizing can lead to lush foliage with fewer blooms.
7. Pruning and Deadheading
Regular maintenance is key to promoting continued blooming.

Deadheading
Remove spent flowers to encourage the production of new blooms. This practice also helps maintain the plant’s aesthetic appeal and prevents seed formation, allowing the plant to focus energy on growth and flowering.
Pruning
Prune any leggy or damaged stems to encourage bushier growth. This is especially needed for taller marigold varieties.
8. Pest and Disease Management
While marigolds are relatively pest-resistant, it’s wise to keep an eye out for common issues.
Common Pests
Watch for aphids, spider mites, and whiteflies, which can affect marigold plants. You can remove them by hand or use insecticidal soap if infestations occur.
Diseases
Marigolds can suffer from root rot if overwatered. Ensure proper drainage and avoid watering the leaves to minimize the risk of fungal diseases.
Prevention
Plant marigolds alongside vegetables and herbs, as they can deter harmful pest insects, acting as a natural pest control measure.
9. Seasonal Care
As the growing season progresses, there are a few additional care tips to ensure your marigolds flourish.

Winter Care
In colder climates, marigolds will die back in winter. If you wish to preserve any varieties, consider bringing container marigolds indoors before the first frost or overwintering them in a sheltered location. Alternatively, collect seeds from your healthiest plants for spring planting.
10. Harvesting Seeds
Saving seeds from your marigolds is easy and can help you grow beautiful flowers year after year.
How to Harvest
Once the flower heads are dried and brown, cut them off and place them in a paper bag. Leave the bag in a dry place for a few days before removing the seeds. Store seeds in a cool, dry location until ready for planting.
Conclusion
Growing marigolds in container gardens is a rewarding experience that can bring color and beauty to your outdoor or indoor space. By following these best practices—choosing the right container, preparing the soil, watering appropriately, and managing pests—you can ensure that your marigolds flourish. Enjoy the delightful blooms and the added bonus of deterring pests in nearby plants!
FAQs
1. Can marigolds be grown in small containers?
Yes, marigolds can be grown in small containers, but ensure the pot is at least 6 inches deep with adequate drainage.
2. How often should I fertilize marigolds?
Fertilize marigolds every 4 to 6 weeks with a slow-release fertilizer or every two weeks with a liquid fertilizer during the growing season.
3. Are marigolds annual or perennial?
Most marigolds are annuals, meaning they complete their life cycle in one growing season and will not return the following year unless reseeded.

4. Can marigolds tolerate drought?
While marigolds are relatively drought-resistant, they do best with consistent watering. Avoid letting them dry out completely for extended periods.
5. What colors do marigolds come in?
Marigolds come in a variety of colors, including yellow, orange, and even red. They can also be found in combinations and patterns.
6. Do marigolds interfere with other plants?
While marigolds can deter pests, they may not be suitable to plant next to certain plants, like beans, as they can inhibit their growth.
With these guidelines, you’re well on your way to growing vibrant marigold flowers in your container garden! Enjoy the beauty and colors they bring to your life.