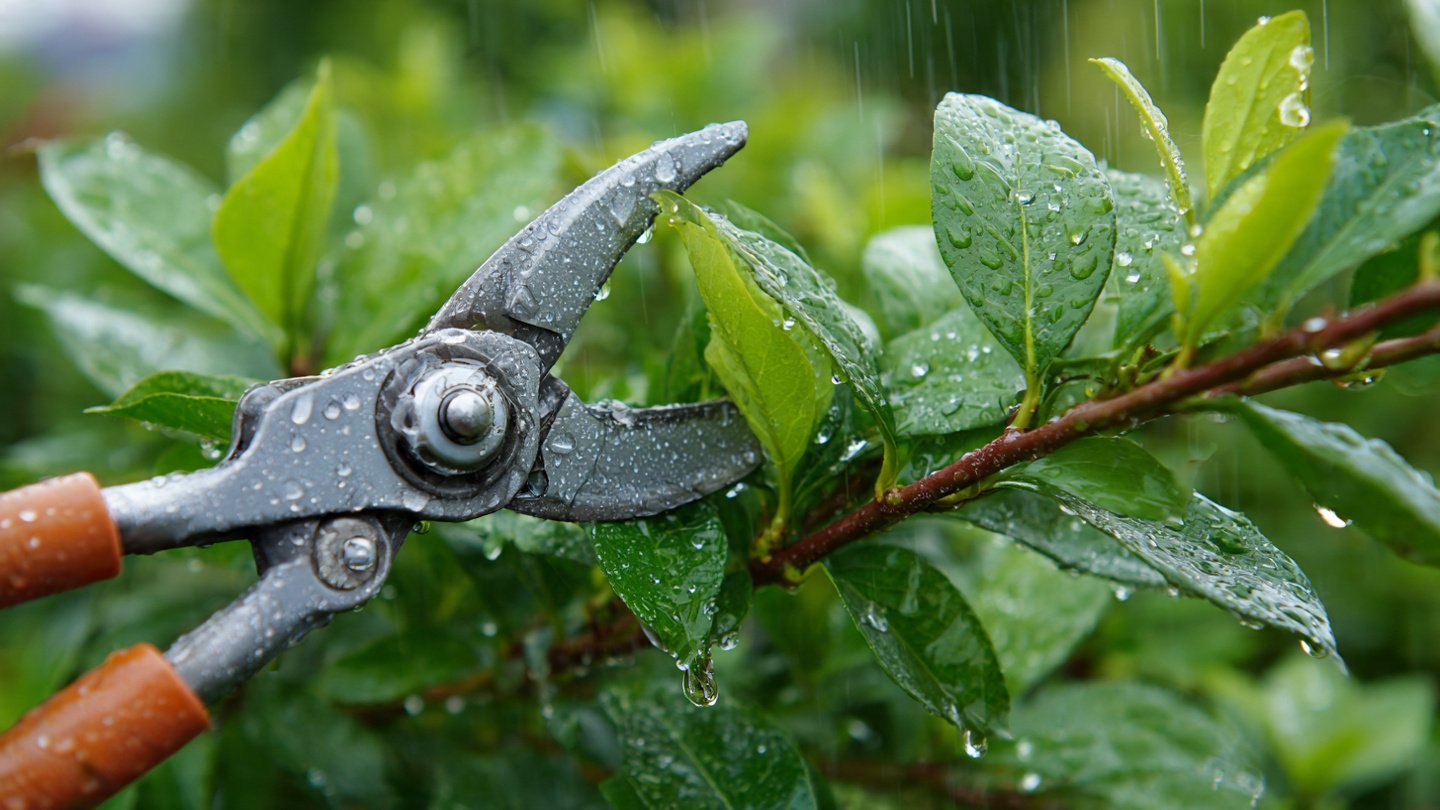
Pruning is an essential practice in gardening and landscaping, helping maintain the health and appearance of plants. However, improper cleaning of pruning tools can lead to the spread of diseases and pests from one plant to another. Implementing effective pruning tool cleaning techniques is crucial for preventing these issues. This article will explore the best methods for cleaning pruning tools, provide step-by-step instructions, and discuss the importance of proper maintenance.
The Importance of Cleaning Pruning Tools
Plants can harbor a variety of diseases and pests, and when pruning tools come into contact with an affected plant, they can transfer pathogens to healthy plants. By ensuring that tools are cleaned effectively, gardeners can mitigate the risk of disease spread. Here are some key reasons why cleaning your pruning tools is essential:
Latest Posts
- How to Use Invisible Wire for a Stunning Climbing Plant Wall
- Are Your Garden Tools Making Your Plants Sick?
- How to Style a Small Studio with Columnar Cacti
- Why Is My Zucchini Shaped Like a Lightbulb?
- How to Protect Your Fruit From Birds Without Nets
- How to Keep Squirrels Away from Your Fruit Trees
- How to Protect Your Fruit from Birds Without Nets
- Why Biochar Is a Game-Changer for Your Kitchen Garden
- Why Some Rare Cacti Bloom Only One Night a Year
- How to Grow Rare Blue Strawberries at Home
- Prevention of Disease Transmission: Tools can carry harmful bacteria, fungi, and viruses. Cleaning helps prevent these pathogens from spreading.
- Improved Plant Health: Healthy plants grow better, produce more fruit or flowers, and are more resistant to pests and diseases.
- Increased Longevity of Tools: Regular cleaning and maintenance can prolong the life of your pruning tools and keep them functioning effectively.
Materials Needed for Cleaning Pruning Tools
Before diving into the cleaning techniques, it’s important to gather the necessary materials. Here’s a list to get you started:
- Rubbing Alcohol or Bleach Solution
- Soapy Water (mild dish soap)
- Scrub Brush or Wire Brush
- Clean Cloth or Paper Towels
- Rust Inhibitor Oil (e.g., mineral oil)
- Protective Gloves

Step-by-Step Cleaning Techniques
1. Basic Cleaning with Soapy Water
This method is ideal for routine cleaning after each use of pruning tools.
- Fill a bucket or basin with warm water and add a few drops of mild dish soap.
- Soak the pruning tools in the soapy water for a few minutes.
- Using a scrub brush, gently scrub all surfaces, paying close attention to crevices and blades.
- Rinse thoroughly with clean water to remove any soap residue.
- Dry the tools completely with a clean cloth or paper towels.
- Apply a thin layer of rust inhibitor oil to moving parts to prevent rusting.

2. Disinfecting Tools with Rubbing Alcohol or Bleach
For tools that have been used on diseased plants, disinfecting is crucial.
- Prepare a disinfectant solution. If using rubbing alcohol, make sure it’s at least 70% concentration. For bleach, mix one part bleach with nine parts water.
- Wipe the blades and handles of the tools with the disinfectant solution using a cloth or a spray bottle.
- Allow the solution to sit for 5-10 minutes to ensure effective disinfection.
- Rinse the tools with clean water to remove any disinfectant residue.
- Dry the tools thoroughly and apply a protective oil as mentioned earlier.
3. Cleaning and Sharpening Blades
Sharp blades not only make the pruning process easier but also promote cleaner cuts that can aid in disease prevention.

- After cleaning the tools, use a sharpening stone to sharpen the blades.
- Hold the blade at a 20-degree angle and run the stone along the edge in one direction.
- Wipe the blade clean after sharpening to remove any metal shavings.
- Finish with a quick disinfecting wipe using rubbing alcohol or a bleach solution.
4. Special Cases: Wooden Handles
Wooden handles can absorb moisture and harbor pathogens. Cleaning them is slightly different.
- Use a damp cloth to wipe the wooden handles clean.
- For stubborn stains, a mild solution of soap and water can be used.
- Allow the handles to dry completely before storing the tools to prevent moisture buildup.
- Optionally, apply mineral oil to preserve the wood and prevent cracking.

Storage Tips for Pruning Tools
Proper storage is as important as cleaning in preventing rust and disease transmission. Follow these storage tips:
- Store tools in a dry place to minimize moisture exposure.
- Use a tool rack or magnetic strip to keep tools off the ground and away from soil.
- Consider using a toolbox or heavy-duty case for seasonal storage.
- Inspect tools regularly for any signs of rust or damage and attend to them promptly.
Conclusion
Effective cleaning and maintenance of pruning tools are crucial for preventing the spread of diseases and ensuring the health of your plants. By adhering to the recommended cleaning techniques and storing your tools properly, you can significantly reduce the risk of transferring pathogens from one plant to another. Remember, regular maintenance not only extends the life span of your tools but also promotes a more flourishing garden or landscape.
FAQs
1. How often should I clean my pruning tools?
It’s advisable to clean your pruning tools after each use, especially if you have worked with diseased plants. For regular maintenance, a thorough clean at the end of the gardening season is also beneficial.

2. Can I use dish soap for disinfecting my tools?
No, while dish soap is good for basic cleaning, it does not disinfect. Use rubbing alcohol or a bleach solution for effective disinfection.
3. What should I do if I find rust on my tools?
Use a wire brush or sandpaper to remove rust, followed by cleaning and disinfecting the tool. Apply rust-inhibiting oil to help prevent future rusting.
4. Are there any homemade solutions for disinfecting tools?
Yes! A mixture of vinegar and water can serve as a natural disinfectant for tools, although it may not be as effective as bleach or alcohol.
5. How should I store my pruning tools?
Store your tools in a dry environment, away from moisture. Keeping them organized on a tool rack or in a toolbox can help maintain their condition.