Toadflax, scientifically known as Linaria, is a charming wildflower that brings a splash of color to gardens and landscapes. These perennial plants are not only beautiful but also beneficial to pollinators, making them a fantastic addition to any garden. Whether you’re a seasoned gardener or just starting out, growing toadflax from seed can be a rewarding experience. In this guide, we will cover everything you need to know to successfully grow toadflax from seed.
Understanding Toadflax
What is Toadflax?
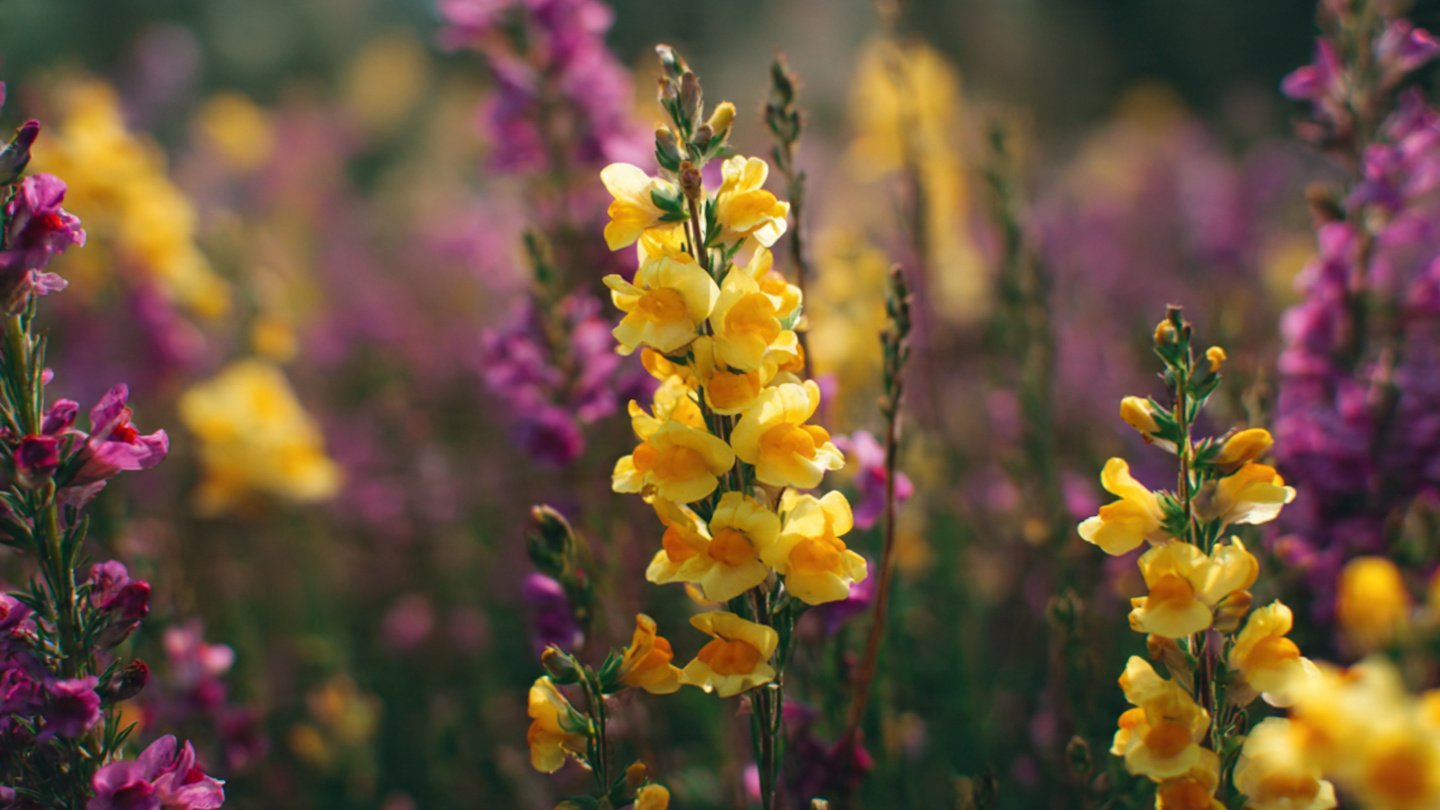
Toadflax refers to several species within the Linaria genus. The most commonly cultivated types include the yellow toadflax (Linaria vulgaris) and the trailing toadflax (Linaria repens). These plants produce vibrant yellow or purple flowers, resembling those of snapdragons. They thrive in various conditions, making them suitable for different garden styles, from cottage gardens to rockeries.
Benefits of Toadflax
- Attractive Flowers: Toadflax flowers bloom from late spring to early fall, providing a long-lasting display of color.
- Pollinator Friendly: They are known to attract bees and butterflies, supporting local ecosystems.
- Easy to Grow: Toadflax is relatively low-maintenance once established, making it ideal for novice gardeners.
- Soil Improvement: Some species can improve soil quality by attracting beneficial microorganisms.
Preparation for Growing Toadflax
Selecting Seeds
When choosing seeds, it’s crucial to select high-quality, organic seeds from reputable suppliers. You can find these at local garden centers, or through online retailers. Pay attention to the specific variety you’re interested in, as different types have varying flower colors and heights.

Ideal Growing Conditions
Toadflax prefers well-draining soil and thrives in full sun to partial shade. Ensure the garden site receives at least 6 hours of sunlight daily. The ideal soil pH is around 6.0 to 7.5, but toadflax can tolerate a range of soil types, including clay and sandy soils.
Timing
The best time to sow toadflax seeds is in early spring or late fall. Sowing in early spring allows the seeds to germinate when the temperatures are warmer, while fall sowing provides a natural stratification that promotes germination in spring.
Latest Posts
- How to Use Invisible Wire for a Stunning Climbing Plant Wall
- Are Your Garden Tools Making Your Plants Sick?
- How to Style a Small Studio with Columnar Cacti
- Why Is My Zucchini Shaped Like a Lightbulb?
- How to Protect Your Fruit From Birds Without Nets
- How to Keep Squirrels Away from Your Fruit Trees
- How to Protect Your Fruit from Birds Without Nets
- Why Biochar Is a Game-Changer for Your Kitchen Garden
- Why Some Rare Cacti Bloom Only One Night a Year
- How to Grow Rare Blue Strawberries at Home
Step-by-Step Guide to Growing Toadflax from Seed
Step 1: Prepare the Soil
Before planting, prepare the soil by removing weeds, rocks, and debris. Loosen the soil using a garden fork or tiller, mixing in compost to improve fertility and drainage. Aim for a soil depth of at least 12 inches to promote healthy root growth.

Step 2: Sowing the Seeds
Toadflax seeds are tiny, so it’s essential to sow them with care. Follow these steps:
- Spacing: Whether sowing directly in the garden or in trays, space seeds about 12 inches apart to allow room for growth.
- Sowing Method:
- If using garden beds, scatter seeds over the soil’s surface and gently press them in.
- For seed trays, fill with seed-starting mix, sprinkle seeds, and cover lightly with soil.
- Moisture: Water the area gently to ensure that the seeds are moistened without being washed away.
Step 3: Germination
Toadflax seeds typically germinate within 14 to 21 days. During this phase, it’s critical to maintain consistent moisture without over-saturating the soil. Use a misting spray or a gentle watering can to avoid disturbing the seeds.
Step 4: Thinning Seedlings
Once the seedlings have reached a height of about 2 inches and have established several true leaves, it’s time to thin them out. This process helps prevent overcrowding and ensures each plant has enough space to grow. Retain the strongest seedlings, and remove the weaker ones, ensuring around 12 inches of space between plants.

Step 5: Transplanting (if necessary)
If you initially sowed seeds in trays, you might need to transplant seedlings to their permanent location once they’re about 3-4 inches tall. Do this in the evening or on a cloudy day to minimize transplant shock.
- Dig Holes: Create holes in prepared garden soil that are slightly larger than the root ball of each seedling.
- Planting: Carefully remove seedlings from the tray, handling them by the leaves rather than the stems to avoid damage. Place each seedling in the prepared hole and backfill with soil, gently pressing down to eliminate air pockets.
Step 6: Establishing Growth
After transplanting, water the plants lightly and provide some shade if temperatures are high. Continue to monitor soil moisture, ensuring it remains consistently moist until the plants are established (usually within 2-3 weeks).
Step 7: Ongoing Care
Once established, toadflax requires minimal care:

- Watering: Water weekly during dry spells, allowing the soil to dry out between waterings.
- Fertilization: Apply a balanced fertilizer in early spring if desired, but toadflax often thrives without additional nutrients.
- Weed Control: Regularly check for weeds and remove them to avoid competition. Mulching around the base of the plants can help suppress weeds and retain soil moisture.
Step 8: Maintenance and Harvesting Seeds
Toadflax blooms for several months, and deadheading spent flowers can encourage additional blooms and prevent self-seeding if you prefer a more controlled garden environment.
If you wish to collect seeds:
- Timing: Wait until the seed pods are dry and brown.
- Harvesting: Gently shake the pods to release the seeds into a container or bag.
Store seeds in a cool, dry place, ensuring proper labeling for future planting seasons.

Common Pests and Diseases
While toadflax is generally hardy, it can be susceptible to pests like aphids and diseases such as root rot, especially in overly wet conditions. Here’s how to manage common issues:
- Aphids: Ladybugs are natural predators of aphids. You can also spray plants with a diluted soap solution to remove them.
- Root Rot: Ensure well-draining soil and avoid overwatering to prevent this issue from occurring.
Conclusion
Growing toadflax from seed is a straightforward process that brings beauty and ecological benefits to your garden. By following the steps outlined in this guide, you can create a vibrant display of flowers that will attract pollinators and enhance your garden’s biodiversity. So gather your seeds, prepare your soil, and get ready to enjoy the lovely blooms of toadflax in your outdoor space!