Mogra, or Arabian Jasmine (Jasminum sambac), is cherished for its fragrant white flowers that bloom throughout the year in tropical and subtropical climates. Growing mogra in pots is an excellent way for beginners to enjoy the beauty and fragrance of this plant without requiring a large garden space. In this article, we will discuss simple steps to grow mogra in pots effectively, along with tips, care requirements, and a FAQs section to address common concerns.
Understanding Mogra
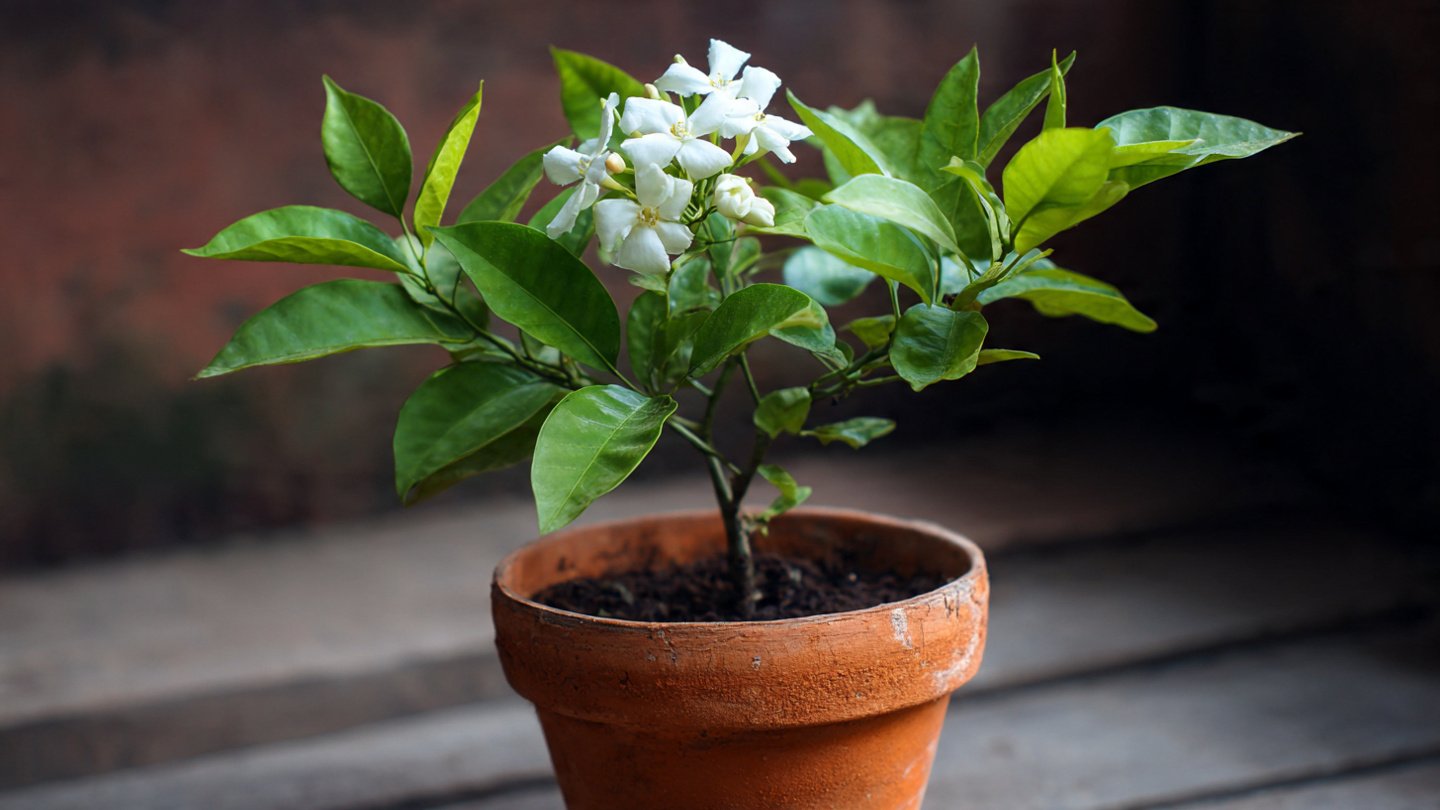
Before delving into the steps, it’s essential to understand what mogra needs for optimal growth. Mogra is a perennial flowering plant known for its white, waxy flowers and glossy green leaves. These plants thrive in warm environments and require specific care to flourish, especially when grown in pots.
Latest Posts
- How to Use Invisible Wire for a Stunning Climbing Plant Wall
- Are Your Garden Tools Making Your Plants Sick?
- How to Style a Small Studio with Columnar Cacti
- Why Is My Zucchini Shaped Like a Lightbulb?
- How to Protect Your Fruit From Birds Without Nets
- How to Keep Squirrels Away from Your Fruit Trees
- How to Protect Your Fruit from Birds Without Nets
- Why Biochar Is a Game-Changer for Your Kitchen Garden
- Why Some Rare Cacti Bloom Only One Night a Year
- How to Grow Rare Blue Strawberries at Home
Benefits of Growing Mogra in Pots
- Space-Efficient: Ideal for small gardens, balconies, or patios.
- Mobility: Easy to relocate pots to provide better sunlight or shelter from rain.
- Controlled Environment: Easier to manage soil quality and irrigation.
Steps to Grow Mogra in Pots
Step 1: Choose the Right Pot
- Size: Select a pot that is 12 inches in diameter for a single plant. Mogra roots grow deep, so ensure the pot has sufficient depth.
- Material: Terracotta or plastic pots are ideal as they provide good drainage.
- Drainage: Ensure the pot has drainage holes to prevent waterlogging.
Step 2: Prepare the Soil

- Soil Type: Mogra prefers well-draining soil. A mixture of equal parts compost, peat moss, and perlite works well.
- pH Level: Aim for slightly acidic to neutral pH (6.0 to 7.0).
Step 3: Planting Mogra
-
Seeds or Cuttings: You can propagate mogra from seeds or cuttings.
- Seeds: Soak seeds in water for 24 hours before planting. This speeds up germination.
- Cuttings: Take 4 to 6-inch cuttings from a healthy plant, and ensure each cutting has at least one leaf node.
-
Planting:
- Seeds: Sow them about 1/4 inch deep in the soil and cover lightly.
- Cuttings: Dip the cut end in rooting hormone (optional) and plant it about 2 inches deep in the soil mixture.
-
Spacing: If planting multiple plants, space each one at least 12 inches apart.
Step 4: Watering

- Initial Care: Water immediately after planting to help settle the soil.
- Routine: Water regularly but allow the top inch of soil to dry out between waterings. Mogra likes moist soil but hates soggy conditions.
Step 5: Provide Adequate Sunlight
- Light Requirement: Mogra needs at least 4 to 6 hours of bright sunlight daily. Position your pots in a location that receives sufficient indirect light.
- Shade: Protect young plants from direct harsh afternoon sunlight.
Step 6: Fertilization
- Type of Fertilizer: Use a balanced, slow-release fertilizer every 4-6 weeks during the growing season (spring and summer).
- Organic Options: Consider using compost or well-rotted manure as a natural fertilizer.
Step 7: Pruning and Maintenance
- Pruning: Regularly prune your mogra to stimulate growth and maintain shape. Remove dead or yellowing leaves and spent flowers.
- Pest Control: Keep an eye out for pests like aphids and spider mites. Use a mild insecticidal soap or neem oil for treatment if needed.
Step 8: Watch for Blooming
Mogra typically starts blooming around 3 to 4 months after planting. The fragrance will be most potent in the evening, and frequent blooms can enhance the beauty of your space.

Seasonal Considerations
Spring
- Ideal planting season. The weather is perfect for new growth.
Summer
- Monitor soil moisture regularly. Increase watering if temperatures rise.
Fall
- As blooming periods may slow down, reduce fertilization and water to accommodate the plant’s dormant state.
Winter
- Protect your mogra from frost if you’re in a cooler climate. Bring pots indoors or use protective coverings.
Troubleshooting Common Issues
- Yellowing Leaves: This can indicate overwatering or nutrient deficiencies.
- Wilting: Often a sign of underwatering; check the soil moisture.
- No Flowers: Could be due to insufficient sunlight or nutrient imbalance.

FAQs about Growing Mogra in Pots
Q1: How often should I water my mogra plant?
A: Water it when the top inch of soil feels dry. Generally, this could mean watering every 3-4 days, but it varies with weather conditions.
Q2: Can I grow mogra indoors?
A: Yes, but ensure it receives at least 4-6 hours of indirect sunlight daily. A south-facing window is ideal.
Q3: How can I propagate mogra?
A: Mogra can be propagated using seeds or cuttings. Cuttings taken during the growing season and treated with rooting hormone tend to root successfully.
Q4: What pests should I watch out for?
A: Common pests include aphids, spider mites, and whiteflies. Regularly inspect your plants and treat issues immediately with organic pest control methods.
Q5: When will my mogra plant bloom?

A: Mogra begins to bloom about 3-4 months after planting, depending on the care and conditions provided.
Q6: Can I use any fertilizer for my mogra plant?
A: A balanced slow-release fertilizer is recommended. Organic options like compost or worm castings can also support healthy growth.
Q7: Is mogra suitable for all climates?
A: Mogra thrives in tropical and subtropical climates. In cooler areas, it can be grown as an annual or kept indoors during winter.
Q8: How do I prevent my plant from becoming leggy?
A: Regular pruning and ensuring enough sunlight are key. Leggy growth usually results from insufficient light.
Conclusion
Growing mogra in pots is a rewarding experience, especially for beginners. With attention to care and the right conditions, you’ll enjoy the intoxicating fragrance and beauty of mogra flowers right in your own space. Follow these simple steps, and soon enough, you’ll find yourself surrounded by the delightful allure of jasmine, enriching your home and garden effortlessly.