Marigolds (Tagetes spp.) are vibrant and hardy annual flowers that are well-loved by gardeners for their bright colors, easy cultivation, and pest-repelling properties. Whether you’re a novice gardener or have years of experience, growing marigolds from seeds can be a rewarding experience. In this guide, we’ll walk you through the easy steps to successfully grow marigold flowers from seeds, along with tips and a Frequently Asked Questions (FAQs) section to help ensure your success.
Step 1: Choose the Right Varieties
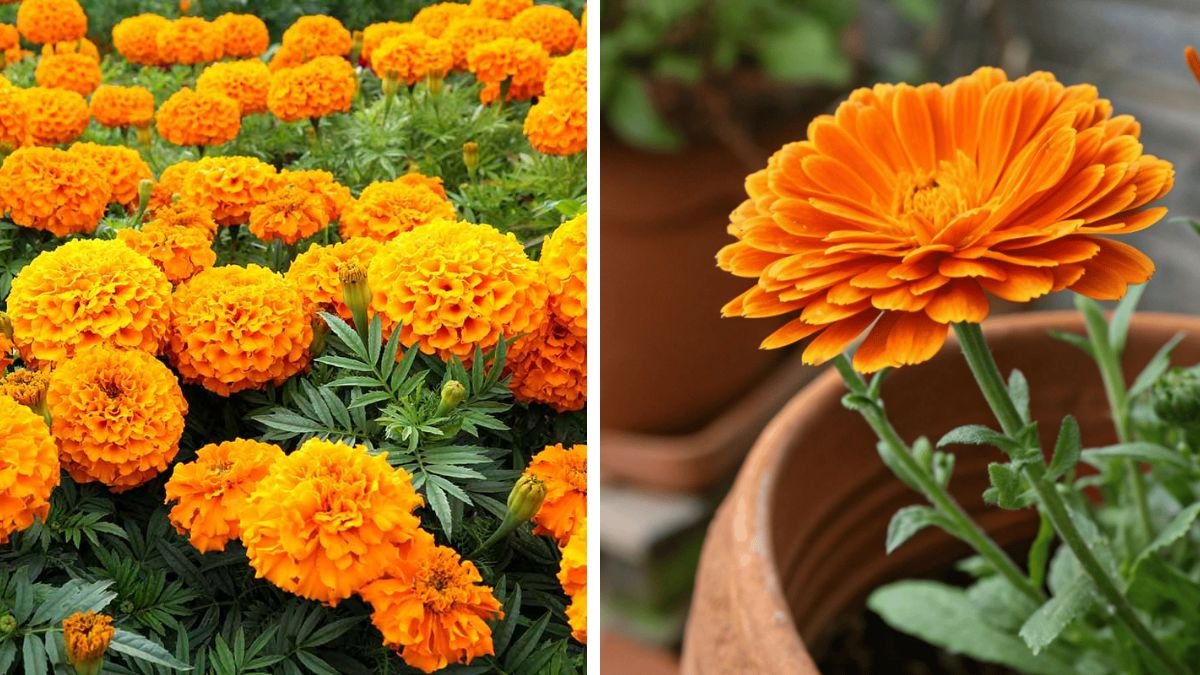
Before planting, it’s essential to decide which marigold variety to grow. There are several types, including:
Latest Posts
- How to Use Invisible Wire for a Stunning Climbing Plant Wall
- Are Your Garden Tools Making Your Plants Sick?
- How to Style a Small Studio with Columnar Cacti
- Why Is My Zucchini Shaped Like a Lightbulb?
- How to Protect Your Fruit From Birds Without Nets
- How to Keep Squirrels Away from Your Fruit Trees
- How to Protect Your Fruit from Birds Without Nets
- Why Biochar Is a Game-Changer for Your Kitchen Garden
- Why Some Rare Cacti Bloom Only One Night a Year
- How to Grow Rare Blue Strawberries at Home
- African Marigolds (Tagetes erecta): Tall with large flowers, perfect for creating a dramatic garden statement.
- French Marigolds (Tagetes patula): Smaller, bushier plants that are excellent for borders and containers.
- Signet Marigolds (Tagetes tenuifolia): Known for their smaller, daisy-like flowers and citrusy scent, ideal for culinary uses.
Tip:
Choose a variety that suits your garden’s aesthetics and the conditions where you plan to plant them.
Step 2: Gather Your Supplies
To begin your marigold cultivation, gather the necessary supplies:
- Seeds: Purchase high-quality seeds from a reputable supplier.
- Seed-starting trays or pots: Ensure proper drainage; plastic or biodegradable options work well.
- Seed-starting mix: A lightweight mix specifically formulated for seedlings.
- Labels: To keep track of different marigold varieties.
- Watering can or spray bottle: For gentle watering.
- Light source: If starting indoors, consider grow lights for adequate light.

Step 3: Timing Your Planting
Timing is crucial for successful growth. Marigold seeds can be started indoors or sown directly in the garden.
- Indoors: Start seeds 6–8 weeks before the last frost date in your area.
- Outdoors: Sowing can be done after the last frost date when soil temperatures are consistently above 70°F (21°C).
Tip:
Check your local frost dates to ensure optimal planting times.
Step 4: Preparing the Soil
If you’re starting indoors, fill your seed trays or pots with a moistened seed-starting mix. For outdoor planting, prepare a sunny garden bed by loosening the soil to a depth of about 12 inches and mixing in some compost to improve fertility.
Tip:
Make sure the soil is well-draining to prevent root rot.
Step 5: Sowing the Seeds
Plant marigold seeds a quarter-inch deep in the soil:

- Indoors: Plant 2-3 seeds per cell in your seed tray and cover lightly with soil.
- Outdoors: Space seeds about 6-12 inches apart, depending on the variety.
Tip:
Label your seeds to avoid confusion once they start to grow.
Step 6: Watering
After sowing, water the soil gently using a spray bottle or watering can. Aim to keep the soil consistently moist but not waterlogged. Overwatering can lead to fungal diseases and root rot.
Tip:
Once seedlings have sprouted, reduce watering slightly to encourage deeper root growth.
Step 7: Providing Light
If you’re starting seeds indoors, they will require adequate light for healthy growth. A south-facing window might suffice, but grow lights are the best option for maximum growth.
- Duration: Aim for at least 12-16 hours of light per day.
Tip:
Rotate your trays periodically to ensure even growth.

Step 8: Thinning Seedlings
Once your seedlings have developed a couple of true leaves (usually about 2-3 inches tall), thin them out:
- Remove weaker seedlings, leaving the strongest one in each cell or space.
- This process allows the remaining plants to have ample space and nutrients.
Tip:
Use scissors to snip off seedlings at the soil level instead of pulling them to avoid disturbing the roots of neighboring seedlings.
Step 9: Transplanting Outdoors
When the seedlings are about 3-4 inches tall and all danger of frost has passed, it’s time to transplant them outdoors:
- Harden Off: Gradually acclimate seedlings to outdoor conditions by placing them outside for a few hours each day over a week.
- Spacing: Space your marigolds according to their variety (generally 6-12 inches apart).
- Planting Depth: Dig a hole slightly larger than the root ball and set the plant gently in the hole before covering with soil.
Tip:
Water the newly transplanted flowers well to help them establish.

Step 10: Caring for Your Marigolds
Caring for marigolds involves basic maintenance:
- Watering: Keep the soil moist during dry periods, especially during the first few weeks after transplanting.
- Fertilizing: Marigolds generally do not require heavy fertilization. A balanced, water-soluble fertilizer can be applied every 4-6 weeks.
- Weeding: Keep the planting area free from weeds that compete for nutrients and water.
Tip:
Remove any spent flowers to encourage new blooms.
Step 11: Pest and Disease Management
One of the main advantages of marigolds is their natural ability to repel pests like aphids and nematodes. However, they can still be susceptible to certain diseases.
- Pests: Regularly inspect plants for signs of pests; introduce beneficial insects like ladybugs if necessary.
- Diseases: Ensure proper airflow between plants, and avoid overhead watering to reduce fungal diseases.
Tip:
Plant marigolds in companion planting schemes to enhance pest resistance.
Additional Tips for Successful Marigold Growth

- Mulching: Apply a layer of organic mulch around the plants to retain moisture and suppress weeds.
- Harvesting Seeds: At the end of the growing season, allow some flowers to go to seed for next year’s planting.
- Diversity: Incorporate marigolds into your vegetable garden for added benefits against pest infestations.
FAQs
Q1: How long does it take for marigold seeds to germinate?
A: Marigold seeds typically take 5-10 days to germinate, depending on temperature and moisture levels.
Q2: Can I grow marigolds in containers?
A: Yes! Marigolds are excellent for container gardening. Just ensure your container has drainage holes and is large enough to accommodate the root system.
Q3: What should I do if my marigolds are leggy?
A: Leggy marigolds often indicate insufficient light. Move them to a sunnier location or use grow lights to provide more light.
Q4: Do marigolds come back every year?
A: Marigolds are typically grown as annuals, but they can reseed and might return in the following years.
Q5: Are marigolds edible?
A: Yes, the petals of certain marigold varieties (like Tagetes tenuifolia) are edible and can add beautiful color to salads and dishes.
Conclusion
Growing marigolds from seeds is not only a fulfilling gardening endeavor but also contributes to the health and beauty of your garden. With their easy-care nature and vibrant colors, marigolds can brighten up any space. By following the steps outlined in this guide, you’ll be well-equipped to cultivate these delightful flowers. Happy gardening!